
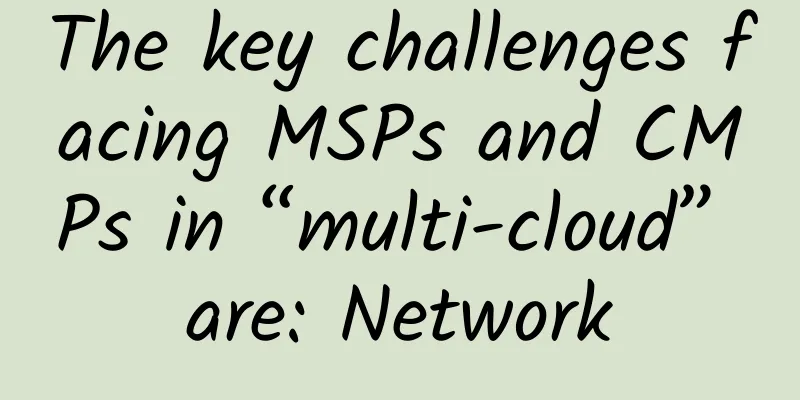
No more restrictions! Detailed explanation of FRP intranet penetration, making remote access simple!

1. Introductionfrp is a high-performance reverse proxy application that focuses on intranet penetration. It supports multiple protocols, including TCP, UDP, HTTP, HTTPS, etc., and has P2P communication capabilities. Using frp, you can safely and conveniently expose intranet services to the public network and transfer them through nodes with public IPs. 1. Working PrincipleThe basic workflow of FRP is as follows:
When an external network user accesses a specific port on a public server, the FRP server forwards the request to the corresponding FRP client, thereby enabling access to the intranet service. FRP working principle diagram 2. Advantages of FRP
2. Installation and configuration of FRPNext we will introduce how to install and configure FRP on your server and intranet devices. Therefore, to use FRP to achieve intranet penetration, you first need to have a VPS. 1. Environmental PreparationBefore you begin, you need to prepare the following environment:
2. Server (frps) installation and configurationThere are many ways to install the FRP server (frps). You can choose to deploy it using binary files or Docker. (1) Binary deployment Get the latest version of the file download through GitHub, as shown below: After logging into the system, change to the specified directory. In this example, I have chosen the opt directory. Download the frp file and replace the link after wget with the latest version. After downloading, execute the following command to decompress the file: Execute the following command to rename the frp application: File Description:
Therefore, the server only needs to keep frps and frps.toml. Edit frps.toml and the completed configuration file options can access the official template [1]. Configure systemd on the server to manage frp and execute the following command to create the frps.service file. And write the following content in the file: Execute the following commands to enable the bootloader and start the service. Check whether the service is normal. Use the following command to check. If the service is not active, check the log. (2) 1Panel deployment If you think the above binary deployment method is complicated, you can try to use 1Panel deployment. Since my VPS has already installed 1Panel, I can easily install frps directly through 1Panel. Open the 1panel app store, find the frp server directly, and install it: The deployment is complete as shown in the following figure: The default authentication method is token. To set and obtain the token, go to the App Market, click Installed, and click the Enter Installation Directory button. frps status frps configuration file 3. Client Installation and ConfigurationThe client only needs to leave frpc and frpc.toml files. Edit frpc.toml and add the following content to the file: The [[proxies]] code block above means forwarding the local port 22 through the public IP port 1022. To put it more clearly, you can access the local port 22 on the intranet through the public network port 1022. Note: This port 1022 needs to be opened on the VPS firewall. Configure the client systemd to manage frpc and execute the following command to create the frpc.service file. And add the following content to the file: Execute the following commands to enable the bootloader and start the service. Run the following command to check whether the client status is normal. If the service is not active, check the log. frpc status 4. Access management webBy default, the dashboard only listens to the local 127.0.0.1 address. If you use an intranet address, please modify the webServer.addr = "xxxx" configuration field. Server dashboard V. ConclusionThrough the introduction of this article, I believe you have a more comprehensive understanding of FRP. From basic installation and configuration to the use of advanced functions, FRP can meet your intranet penetration needs in different scenarios. If you are looking for an efficient and easy-to-use intranet penetration tool, FRP is undoubtedly a very good choice. Hurry up and try it, so that your remote access is no longer restricted! |
<<: Five API Gateway Technology Options
>>: See if you can handle this kind of interview. How does TCP transmit reliably?


Recommend
Five reasons why your business needs software-defined networking
Many large customers face a daunting dilemma. On ...
The three major operators were forced to delist from the US: the impact was not significant but the intention was obvious
On December 31 last year, the New York Stock Exch...
Software defines everything! What you must know about enterprise network modernization
[[427967]] This article is reprinted from the WeC...
5G Era: Say Goodbye to TCP/IP
I just don't love you anymore, a song that ca...
Aruba Wi-Fi 6E Joins 1,400 Colleges and Universities Worldwide to Create a Smart Campus for the Future
Aruba, a Hewlett Packard Enterprise company, rece...
The price of 4G mobile chips will rise instead of fall in the second half of 2021
As mobile chip suppliers focus more on 5G solutio...
HostKvm is now available in Hong Kong International Zone C, 1Gbps bandwidth Hong Kong VPS 20% off starting at $6.8/month
HostKvm has sent a message about the new Hong Kon...
These 6 ways to implement load balancing technology should not be missed
Load balancing is an application of cluster techn...
Why choose NB-IoT when there are so many standards?
The need for communication is indispensable in ou...
There is a 1024-bit bug. The TCP data packets are so annoying!
1. Background Recently, I encountered a particula...
The future of 5G and IoT in smart cities
Simply put, a "smart city" leverages em...
MWC2023: Huawei releases a series of innovative solutions for simplified networks and data centers to accelerate the transition to an intelligent world
[Barcelona, Spain, February 28, 2023 ] During t...
The future of high-speed connectivity: Embedded non-volatile memory in 5G networks
In the fast-paced world of technology, the demand...
From concept to practice, the trend of blockchain is coming
In accordance with the requirements of blockchain...
What is the 5G Open RAN Policy Alliance established by Microsoft, Google, Samsung and other giants?
According to foreign media reports, the Open RAN ...